i'm not much of a diy blogger. i use this blog as a journal and as a way to keep family informed. so every once and awhile when i do actually complete a project, and feel the need to document it, this seems to be the perfect place. i don't take a bunch of step-by-step photos, because there are plenty of tutorials out there already on refinishing furniture {i followed a couple myself to refinish this dresser}. i just want to have a place where i can say look, i did that. because really, it feels pretty good to finish a project like this and to be proud of what you created. i mean honestly, we needed more space for the girls clothes because one tiny changing table dresser wasn't going to fit the clothes for both girls, {hazel's were crammed in there as it was} but john and i didn't want to spend a fortune on a nice dresser that would last a long time, nor did we want to spend a little money on something i wasn't going to love. so, with john's support, i selected a $30 dresser on craigslist to go scope out. it was honestly, a mess. but it had potential. after a lot of work, i am in love with what we ended up with!
Showing posts with label diy. Show all posts
1.27.2015
11.16.2014
how to make your own christmas tree.
john and i had a discussion this season. are we going to be one of those families that throws down $100+ a year for a fresh christmas tree, or are we going to be the family that buys a really nice, $250 fake christmas tree that will last us (hopefully) a few years? it turns out - neither. since we are going to be out of town for christmas for the foreseeable next few years, we didn't want to throw down the money on either type of tree. at least not right now. we threw around the idea of buying a tree once they all hit the clearance aisle at the stores... but we'll see. so we made the decision there would be no tree in our house this year. and i tried to come to grips with that. i really, really tried.
but i couldn't.
so i started thinking about what i could do for a cheap alternative. and i finally settled upon this:
i went to home depot and asked the nice man at the paint counter how many paint stir sticks i could take for free. he was okay with 20, because i thought that it would do the trick. then i went over to the lumber section and searched for a piece of wood of comparable color and thickness for the trunk. i found a 4-foot piece of "hobby wood" that looked perfect, and bought the other necessary tools:
nails
wood glue
cheap lame saw
now for the fun part! laying down your trunk and arranging branches how you want them.
while i was sawing paint sticks {which it turns out, are probably not meant to be cut} with the crappy, cheap saw, i thought that was going to be the most annoying part of this whole project. and then, while i was gluing the pieces down in the places that i wanted them, i thought that was going to be the most annoying part. but the nailing. the nailing was it. but it was worth it!
after i got all the branches placed the way i liked them, i glued the main pieces on a few at a time. the glue bottle suggests using a clamp to hold the pieces together, but who wants to take an extra trip to michaels for clamps? not this girl! no, what are our old textbooks good for if not makeshift clamps? i placed a couple books on top of each piece of wood, and i put nails in the places i thought they should go. there was no particular pattern, i just put them where i thought they would be best.
i used no-damage hanging strips to adhere it to the wall so i wouldn't have holes to patch up come january. the hazel and i enjoyed decorating the tree together. {which mostly involved me making sure she didn't rip out all the nails as she took off ornaments}
the final project:
i think it fits pretty nicely in that little corner. even if we end up buying a fake christmas tree at the end of this season, i will proudly put this one on display for the next few years :)
12.27.2013
diy instagram magnets.
please notice: fetus hazel, bottom right.
have you ever heard of sticky gram? well, i kept seeing advertisements for it and although they were cute, i was really frustrated to discover that it's $15 for just 9 magnets! so i decided to make my own. it's actually really easy if you are somewhat photo-editor savvy.
supplies:
1. your photos: i sized 6 instagram photos to 2x2in apiece and put them in a 4x6 photo. (note: make sure your photos are at least 200ppi, preferably 400 or else you will get a pixelated photo.) then i sent the 4x6 prints to costco.
2. sticky magnetic sheets: can be found at most craft stores. i got mine at hobby lobby - $2.99 for four 4x6in sheets.
3. modge podge dimensional magic
4. scissors
steps:
1. gather supplies
2. pull sticky backing off magnetic sheet
3. center photo on magnet and press down firmly
4. cut out each individual magnet
5. cover with modge podge dimensional magic
6. let dry 3 hours
this was seriously one of my favorite projects ever! the magnets turned out so cute. i hope you enjoy it too. happy crafting!
12.19.2013
hazel's quiet book, part 1.
there have been some requests among friends and family that i should post my patterns for hazel's quiet book. i've probably spent fifty hours on this beauty so far - and while it has many imperfections, i love it anyway.
the title page has letters that stick on with velcro so hazel can "spell" her name:
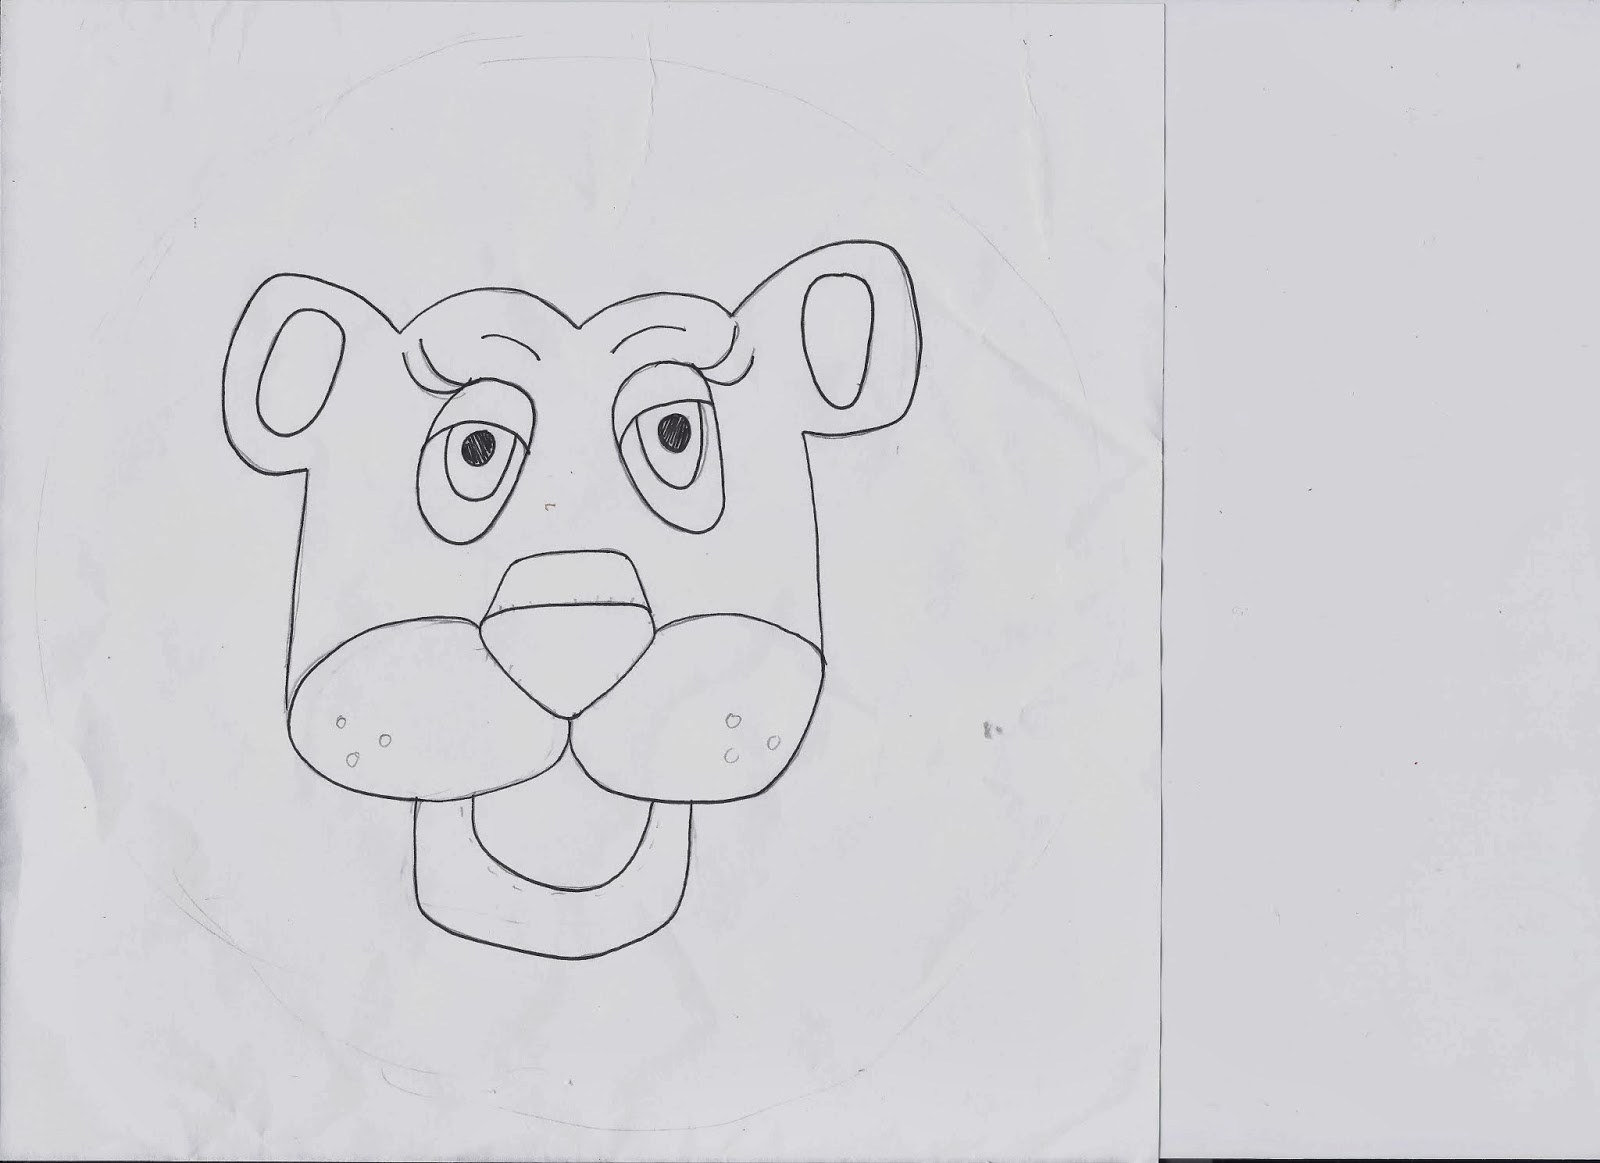
the lion's mouth opens and closes.
the ballerina's shoes can be untied and tied.
the flowers snap into place and can be put on different stems:
the barn page with doors that open and close and finger puppets inside!
and finally, the under the sea page, with a pocket for all the sea creatures:
patterns: i started by cutting out the largest piece first, and then cutting smaller and smaller pieces as i went. that way, i didn't have to print a ton of pages. felt usually comes in 9x12in and i centered the pages on the far right or left of each piece (depending on what side of the page it was going on). For example, my book cover is on the right of the felt because the binding is on the left of it. my lion was on the left on the page because he was going on the back of the first page. when it came to putting the book together, i used a zig-zag stitch to sew the two pages together in a square. then, just to the left of that stitch about 1/2in i stitched a straight line and then another straight line just to the left of that. and then i cut the extra felt off. so by the end i have a page that is about 9in tall and 9.75in wide. this blog has a decent picture tutorial on the process, although i did mine a little differently. next time i make a page i will take pictures along the way and post again.
homemade by jill has some great flower and finger-puppet patterns.
i used hers for the barn animal finger-puppets.
Subscribe to:
Posts (Atom)